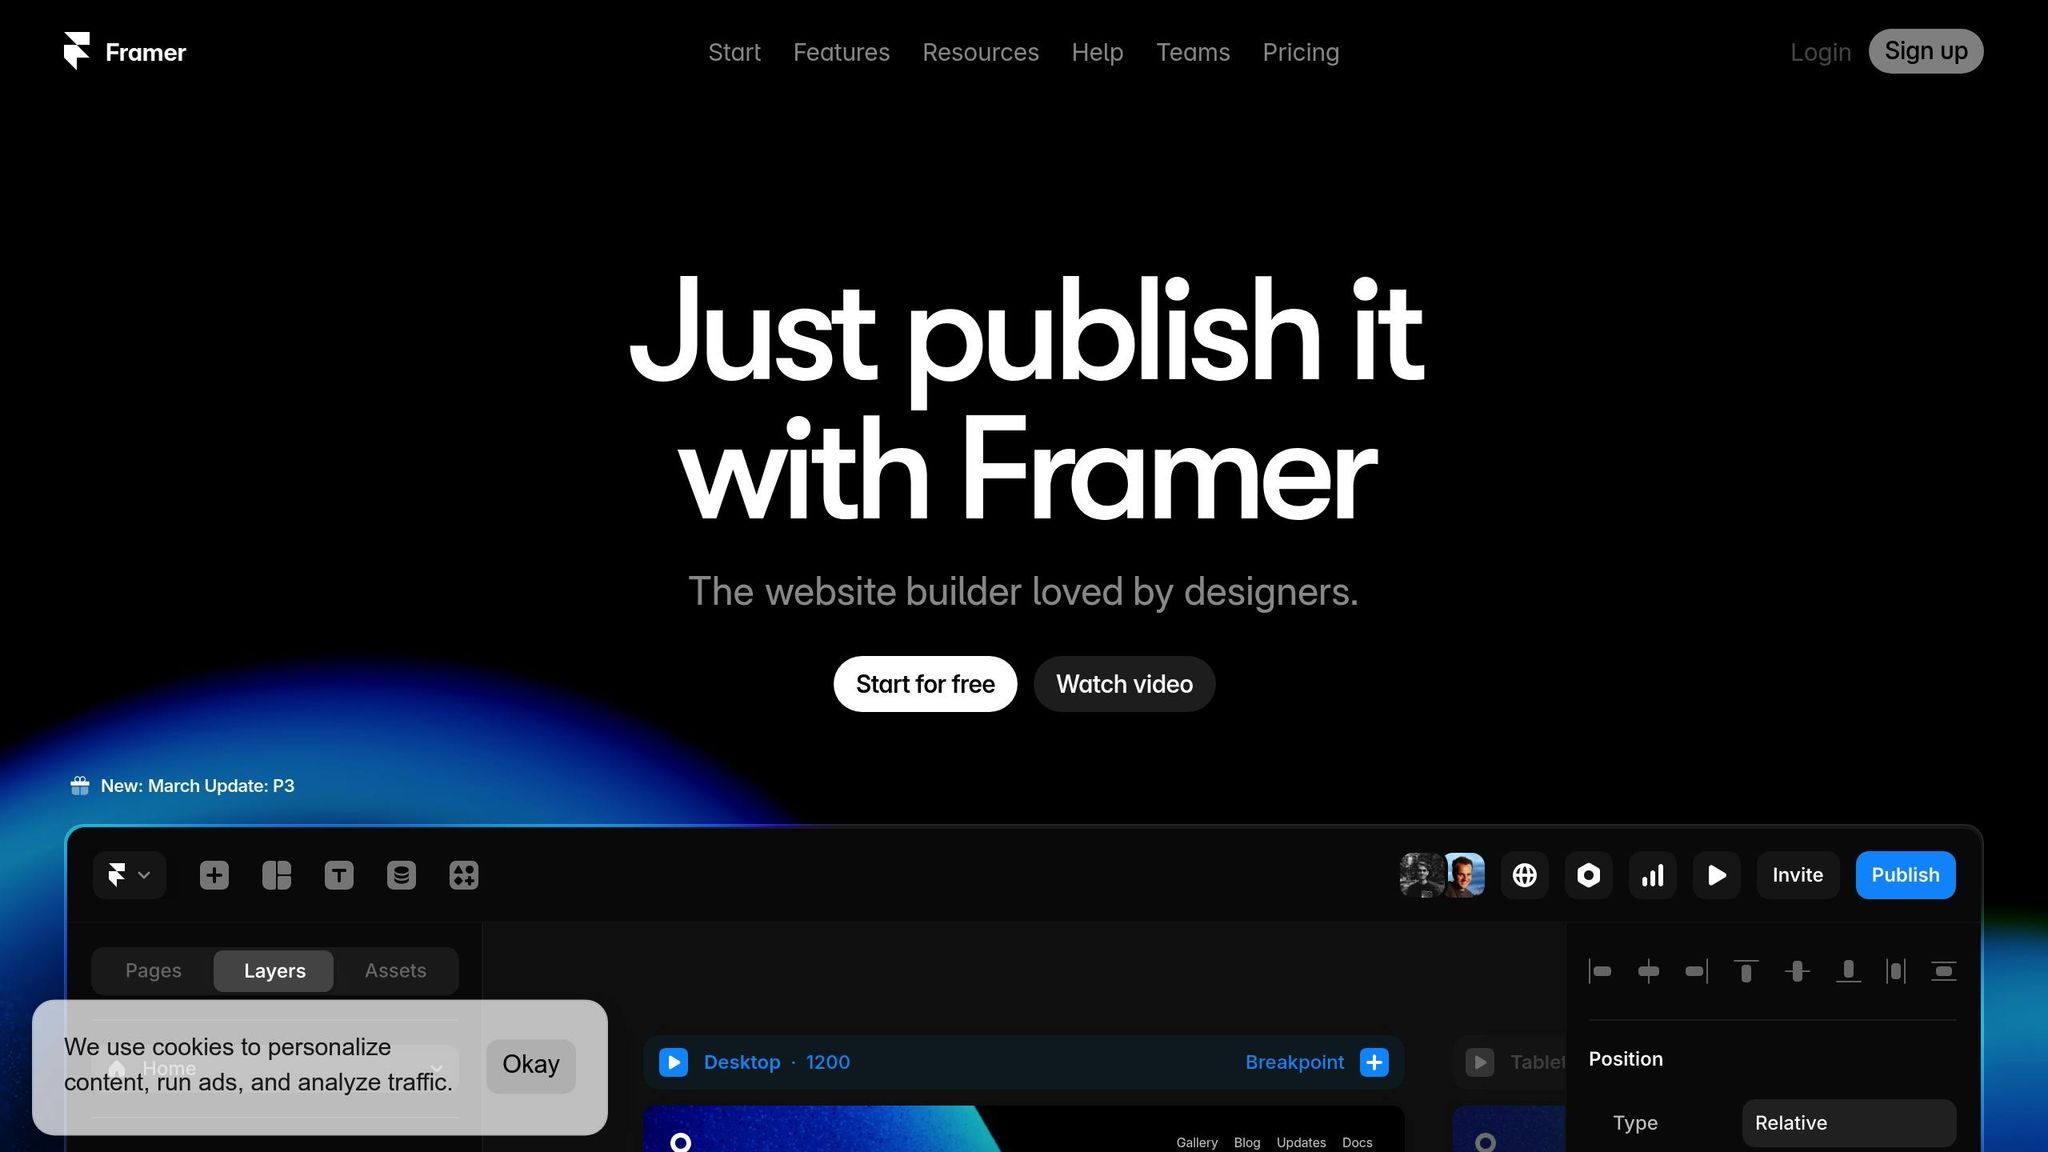
Switching from WordPress to Framer CMS can simplify your website management while preserving your content and SEO. Here's how to make the migration seamless:
Why Migrate? Framer CMS offers a design-first, low-maintenance platform, saving time on updates, security, and plugins.
Preparation Steps: Audit your content, back up your WordPress database and files, and map out your URLs to maintain SEO.
Migration Process:
Set up collections in Framer for pages, blogs, and media.
Export WordPress content as XML, convert to CSV, and import into Framer.
Transfer and organize media files, ensuring all links are updated.
Post-Migration Tasks: Fine-tune design, test functionality, configure redirects, and optimize for performance.
A successful migration ensures your site remains fast, user-friendly, and SEO-optimized. Framer’s tools make it easier to manage your site without technical skills.
Getting Ready to Migrate
Preparing thoroughly will make your transition from WordPress to Framer CMS much smoother. Here's how to get your content ready for migration.
Review Your Content
Start by auditing your content. Use a spreadsheet to keep track of:
Pages and posts
Media files (images, videos, documents)
Custom post types
Forms and interactive elements
Widgets and sidebars
Take this opportunity to clean up your site. Remove outdated content, fix broken links, and eliminate duplicates. This ensures that only relevant, high-quality material makes it to your new Framer site.
Create Site Backups
Backups are essential to protect your data during migration. Make sure to back up both your database and files [1].
"Backups should be performed regularly, especially before any upgrades or migrations. It's recommended to keep at least three backups in different locations to prevent data loss from corruption or damage." - WordPress Documentation [1]
1. Database Backup
Export your WordPress database using phpMyAdmin or your hosting control panel. Save this file in multiple locations, such as:
Your local computer
An external hard drive
A cloud storage service
2. Files Backup
Download your files using an FTP client or your hosting provider's tools. Include:
WordPress core files
Themes and plugins
Uploaded media
Custom code files
3. Verification
Test your backups in a staging environment to confirm they work as expected.
Map URLs and SEO Elements
To preserve your search engine rankings, carefully plan your URL structure and SEO elements.
"When a redirect is created, visitors to the old URL are automatically redirected to the new URL. This is especially valuable for maintaining search engine ranking while updating page URLs." - Framer Help [2]
Create a detailed URL mapping document that outlines:
Current WordPress URL | New Framer URL | SEO Elements to Transfer |
|---|---|---|
Domain/blog/post-1 | Domain/articles/post-1 | Meta title, description, keywords |
Domain/about-us | Domain/about | Header tags, image alt text |
Domain/services/* | Domain/solutions/* | Custom meta data |
This document will help maintain your site's SEO value and ensure visitors can still find your content. Include all types of URLs - blog posts, category pages, and custom post types - so you can set proper redirects in Framer's settings [2].
Once your content is reviewed and backed up, you're ready to start migrating your files into Framer.
Moving Content to Framer
Set Up Your Framer Structure
Before transferring content, create a structure in Framer that matches your WordPress setup. Organize your content into collections such as:
Pages Collection: For static pages like About, Contact, and Services
Blog Collection: For WordPress posts
Media Collection: To manage images and videos
Custom Collections: For any specialized content from your site
Define each collection with fields like title, slug, content, featured image, publication date, author, and SEO metadata. Once your collections are ready, prepare your WordPress data for export and conversion.
Transfer Your Content
To move your content, follow these steps:
Export WordPress Content
From your WordPress dashboard, export your content as an XML file. This file will include posts, pages, and metadata
[3].
Convert and Import
Convert the XML file to CSV format to make it compatible with Framer
[3]. Organize the data into separate CSV files for each content type. For example:
Content Type
Fields to Include
Notes
Pages
Title, Content, URL, Meta Description
Keep the page hierarchy intact
Posts
Title, Content, Date, Categories, Tags
Preserve publication dates
Media
File Name, Alt Text, Caption, URL
Include original file locations
Import Process
Use Framer's import tools to upload the CSV files. Check the import process to ensure all content transfers correctly.
Migrate Media Files
Once you've moved your text-based content, focus on your media assets.
Organize Media Files
Create a structured folder system in Framer that mirrors your WordPress media organization. For example:
/uploads/blog-images//uploads/page-images//uploads/documents/
Transfer Files
Export media files from WordPress and upload them to Framer's media storage
[4]. Ensure image quality, consistent filenames, and organized folders. Also, preserve alt text for accessibility. Moving image folders directly from your WordPress export to Framer’s public uploads folder can help maintain order.
Update References
After uploading media, check that all links and references point to the correct locations in Framer. This includes image links within blog posts, featured images, background images, and downloadable documents. Keep a backup of your WordPress site until all media functions properly in Framer.
Fine-Tuning Your Site
With your content now in Framer, it’s time to polish the design, functionality, and SEO settings to complete the migration process.
Adjust Design Elements
Once the content is migrated, tweak the visual aspects in Framer to align with your original WordPress design. Carefully review each page template and component to ensure everything looks and works as intended.
Key design elements to review include:
Typography: Check font sizes, weights, and spacing for consistency.
Color schemes: Ensure brand colors are correctly applied.
Layout: Verify spacing, margins, and overall alignment.
Images: Confirm proper sizing and responsiveness across devices.
Interactive elements: Fine-tune buttons, hover effects, and other interactive components.
If you encounter browser-specific issues, wrap those components in a useEffect() hook or apply targeted fixes.
Test Site Functionality
Thorough testing is essential to identify and resolve any migration-related problems. Develop a structured testing plan to ensure all site features work as expected.
Test Category | Key Elements to Check | Common Issues to Watch For |
|---|---|---|
Content Display | Headers, paragraphs, lists | Missing formatting, broken layouts |
Interactive Elements | Forms, buttons, menus | Non-functioning clicks, validation errors |
Media Content | Images, videos, downloads | Broken links, missing files |
Dynamic Features | Search, filters, pagination | Server-side rendering conflicts |
If you notice browser-specific API errors, adjust the component code or use CSS media queries to address them.
Once functionality is confirmed, shift your focus to preserving SEO performance by setting up proper redirects.
Configure SEO and Redirects
Preserving your SEO rankings during migration requires careful attention to URL structures and redirects. Use Framer’s Site Settings → Redirects section to set up 301 redirects that maintain both search rankings and a smooth user experience.
Here’s how to handle redirects effectively:
1. Plan URL Changes
Develop a detailed redirect strategy to account for all URL updates. For instance, if a URL changes from /blog/post-name to /resources/blog/post-name, you’ll need a redirect like this:
2. Tackle Complex URL Patterns
For more complicated URL changes, use wildcards to ensure content remains accessible. For example, when restructuring a content hierarchy, you might need something like:
Make sure to test all redirects thoroughly to avoid broken links or SEO issues. Double-check your meta tags, headers, and other SEO elements to ensure everything is in place before finalizing the migration.
These final adjustments ensure your revamped site is ready for visitors and search engines alike.
Tips for Success
Keep Brand Design Consistent
To maintain your site's visual identity after migration, build a detailed Figma design system. Include elements like components, typography, spacing, and color palettes. This will help ensure a smooth transition. Use Framer's dynamic collections to map WordPress content and replicate your blog post layouts while keeping your brand intact.
Once your design is set, shift your focus to improving site performance.
Speed Up Your Site
A fast website is essential for both user experience and SEO. As Luca Da Corte explains:
"Nobody likes a slow website. Slow load times lead to reduced engagement, higher bounce rates, and lower search engine rankings. In essence, a slow website means less business." [5]
Pay attention to these performance metrics:
Largest Contentful Paint (LCP): Aim for under 2.5 seconds.
First Input Delay (FID): Keep it below 100ms.
Cumulative Layout Shift (CLS): Stay under 0.1 seconds.
Here’s how you can optimize key areas:
Optimization Area | Best Practice | Impact |
|---|---|---|
Images | Enable auto-resolution | Reduces load time |
Videos | Use YouTube/Vimeo embeds | Improves performance |
Scripts | Add async/defer attributes | Speeds up rendering |
Animations | Minimize complex effects | Reduces layout shifts |
Make Navigation Easy
Good navigation is critical for a smooth user experience. Ensure your site’s menu structure is clear and easy to follow, making it simple for users to find what they need. After migration, test navigation across all devices to ensure consistency.
When reorganizing your blog or content structure, use Framer's built-in tools to set up proper redirects. This helps retain SEO value and avoids confusing visitors with broken links. For instance, if you’ve changed a blog URL, redirect the old link to the new one so users don’t get lost.
Create Usage Guides
To keep your team aligned, document your Framer CMS setup and provide clear guidelines for:
Content Management: Instructions for adding and updating content.
Design System: Details on components and styling rules.
SEO Practices: Steps for optimizing new content.
Technical Procedures: Directions for handling common maintenance tasks.
Wrapping It Up
This guide has outlined how to maintain your content's quality and SEO while taking advantage of Framer's cutting-edge design capabilities.
Switching from WordPress to Framer CMS can simplify your workflow and set your site up for the long haul. Real-world examples highlight the benefits: Superhuman built 85% of its site using just its design and marketing team, Zapier rolled out new brand guidelines in under a week with only two editors, and Contra saw a 65% jump in branded clicks on its Framer-powered landing page [6].
Framer’s React-based framework ensures fast performance. Features like automated SSL certificates and XML sitemaps mean less hassle for you [6].
"Framer was purposefully built to be extremely easy to use for people who are not familiar with the world of web development." [6] - Luca Da Corte, Author
As covered, a well-thought-out approach - from backups to design details - makes for a smooth transition. Striking Alchemy supports you at every step, helping you maintain your brand identity while leveraging Framer's tools for better content management and site performance.
Ready to make the move? Save on maintenance, improve speed, and boost efficiency - plans start at just $5 per site per month [6].